Beauty blenders or makeup sponges have been a fantastic invention that has helped in the application or blending of foundation, concealer, bronzer, or highlighter smoothly. But once you use this blender, it becomes a storehouse of excess foundation stains. You might think washing it off from the outside would be fine, but that is a ‘big no’! Then How to Clean Beauty Blender at Home?

If you have seen videos of people cutting their beauty blenders into halves, you would know the reason for that big no. Do you know what’s worse? The longer something stays damp; the more likely mold will grow. These dirty little bacteria play their part in causing acne or breakouts if you constantly use the same blender without washing it.
How to Clean Beauty Blender at Home?
That said, it should now be a known fact that even your makeup tools call for cleanliness and hygiene. But do you know the best part? You do not have to spend hours washing and scrubbing your beauty blenders to make them free of bacteria. If you are looking for methods to get your beauty blenders squeaky clean, then you are at the perfect place. Below mentioned are some of the ways to achieve it. Just a few simple steps, and there you are with brand-new beauty blenders!
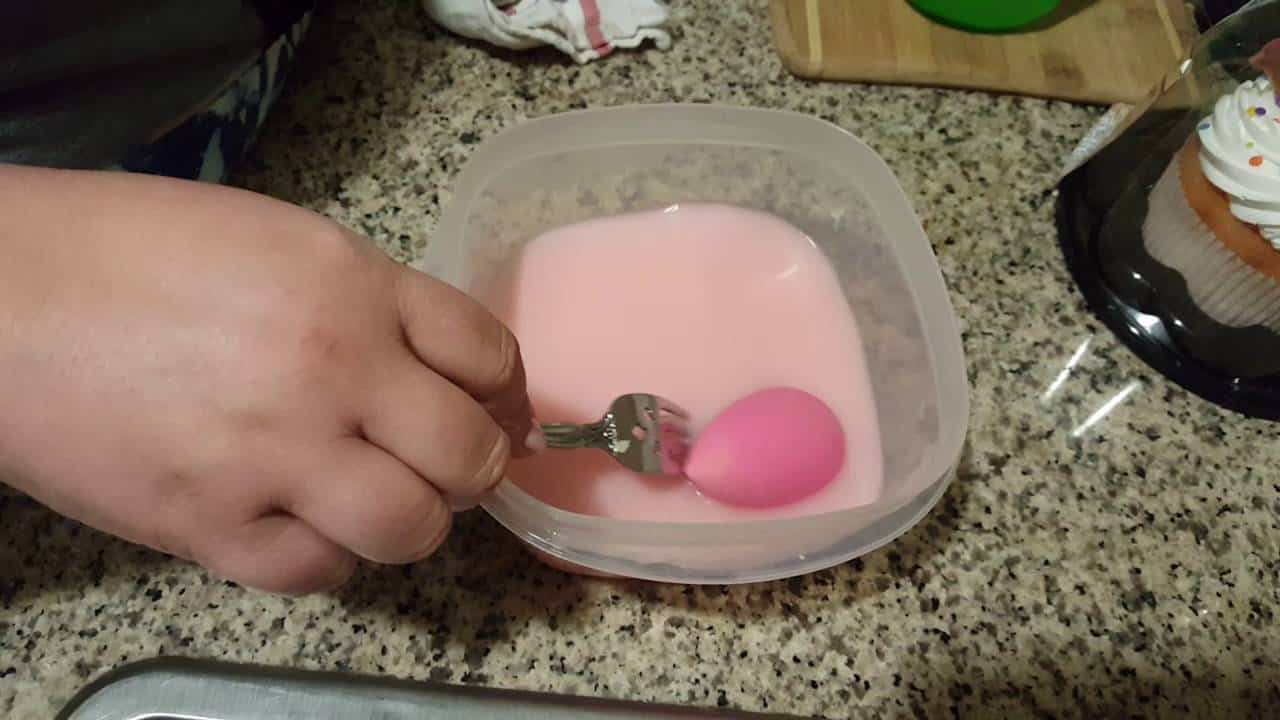
Clean a Beauty Blender Using Dish soap
A dish soap will quickly break down the concealer or foundation. Moreover, it has a smooth texture and is tender with the beauty blender. So there is no worry about your blender being shredded.
Steps:
- Initially, make your blender wet by keeping it under running water.
- Grab a dishwasher or dish soap and gush it on the blender directly. Doing it directly on the beauty blender will create more foam or lather.
- Squeeze and rub the blender using your fingers. Do not try to scrape the blender with your nails, as this may damage it.
- Keep the blender in the foamy state for a few minutes for the soap to settle and break down the foundation particles.
- Rinse it thoroughly, and you will see colored water running. Keep squeezing it till there is no foam, and the water that runs through it is clear.
- Lastly, remember to keep this washed blender in an open and dry place to avoid it from being damp inside.
Clean a Beauty Blender Using Oil
You might be familiar with the traditional way of removing makeup using coconut oil. Well, one thing is for sure, oil breaks down oil. When you have heavy makeup on, you use a cleaning oil that helps dissolve the oils present in the makeup products. The same goes for beauty blenders. The same oil technique is used to clean the beauty blender to eliminate the stains.
Steps:
- Take that dirty blender, and do not make it wet. On this dry beauty blender, apply a few drops of oil.
- Repeat the same procedure mentioned above using dish soap. That is, by squeezing and massaging the blender with oil and washing it off.
- Here there is no lather. So keep rinsing the blender till you feel all the oily and greasy texture on it has gone, and the water running through it is clear.
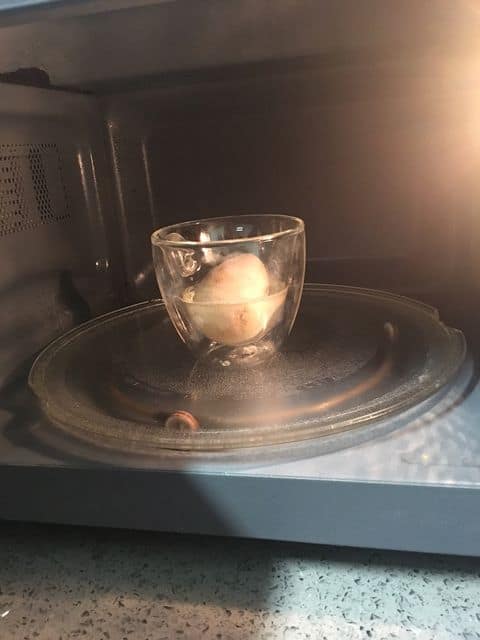
Clean a Beauty Blender in a Microwave
If you do not prefer scrubbing, rubbing, and squeezing with detergents or soaps, you’ve got your way out. It may sound bizarre, but truthfully speaking, it does work! The simple technique is to heat your blenders. Well, not literally, but by keeping them in the microwave. But follow the steps below to ensure you do not have these tiny little blenders coming out of the microwave as fireballs.
Steps:
- Take a bowl and mix some dish soap to create a soapy solution for all the beauty blenders to get soaked into.
- Before putting the blenders in this mixture, wet them and completely submerge them in the soapy water.
- Put this mixture containing the blenders to the heat test. Microwave it for about a minute.
- After removing it from the microwave, wait some time for it to cool. You will notice the soapy solution turns all colored with the makeup residues. This means your once dirty beauty blender has become like a new one.
- Lastly, wash it off with water running over it so that the soapy solution is rinsed off.
Clean a Beauty Blender using a Cleanser Pad
This cleansing pad is a silicone pad with small bumps over it. These bumps create friction that helps in cleaning the blenders thoroughly. Follow the simple steps below to get the brand-new look on your beauty blenders.
Steps:
- The first step is to wet your beauty blender by squeezing it under running water.
- Use a cleansing liquid, dish soap, or a soap stick along the blender to make it fully covered or saturated.
- Rub your blender on the cleansing pad along the tiny bumps. Repeat this procedure till a good amount of foam is created.
- Keep doing the same till there is no residue left on the blender. Then wash it thoroughly and leave it to dry.
Clean the Beauty Blenders in the Washing Machine
If you are pretty lazy and don’t want to do any scrubbing, squeezing, heating, or any such thing, then here’s a lazy way to get those tiny sponges cleaned.
Steps:
- This method is suitable if you have got several beauty blenders. Just push them into the washing machine by ensuring it occupies enough space.
- The washing machine does its job by scrubbing, rinsing, and washing them with detergent.
- To get it thoroughly cleaned, run it for an extra rinse and then put them to dry.
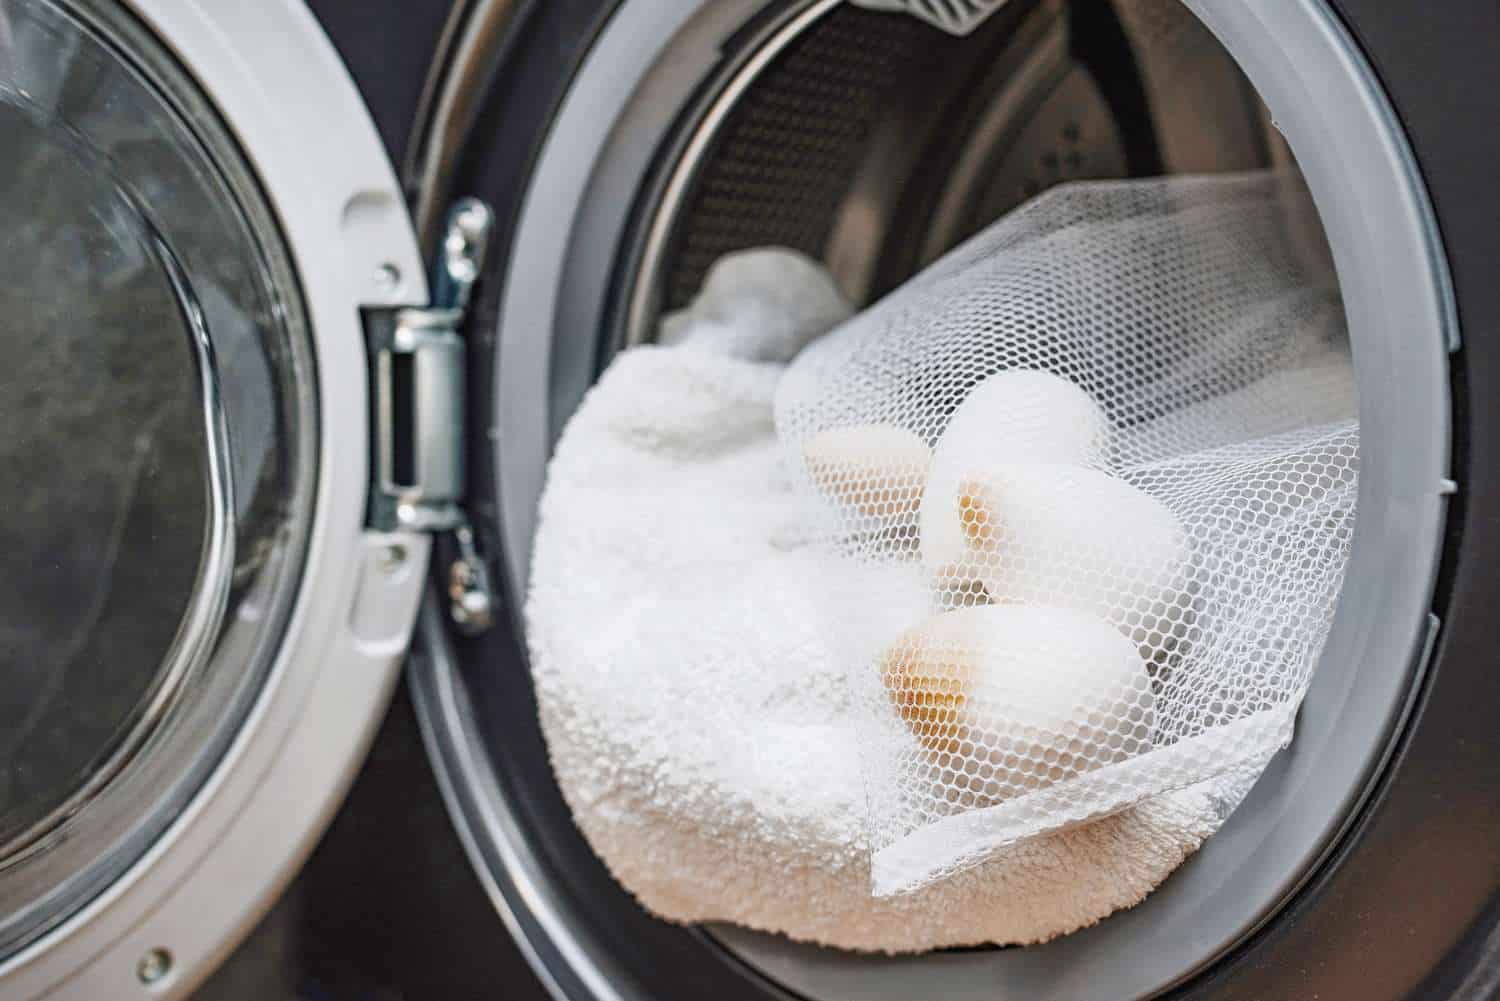
Make sure you get them dried in an open place to prevent any of these blenders from staying damp inside.
Final Words | Clean Beauty Blender At Home
Just as you put your clothes in for a good wash almost every day, your makeup tools also require this clean wash. To avoid getting any bacterial infections, it is important to keep cleaning your applicators. Be it once in two days or once a week, ensure you eliminate the nasty things that reside inside the blenders or on the applicators. Though you may not be able to see these always, it is still a must to keep washing them now and then!
My work says it all!